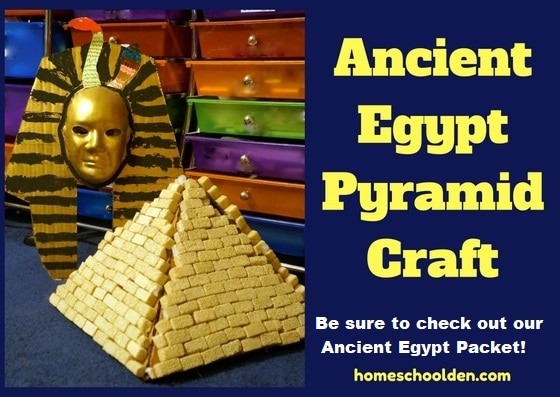
Make Your Own Egyptian Pyramid!
We love hands-on projects and ED had fun at the end of last semester learning about Ancient Egypt. I thought I would share the cool project she made (mostly on her own!).
My youngest and I read through the Story of the World, vol. 1 (affiliate link) about the ancient world. ED loved the way this book is written. (She is 8.) At the time, my older two were doing their research papers. I figured this was a great option for her while they were busy… but… My older two became captivated by the Story of the World too, so they joined in!! We have the book and the audio CD with Jim Weiss as the narrator. At first, I was reading the chapters aloud, but after the kids heard the audio CDs in the car one day, they asked if we could listen to him. So, we listened to the last half of the book. I got mine used from homeschoolclassifieds.com a number of years ago. We also listened to the Egyptian Myth CD again, Egyptian Treasures: Mummies and Myths (affiliate link), also read by Jim Weiss. They really loved this CD as well.
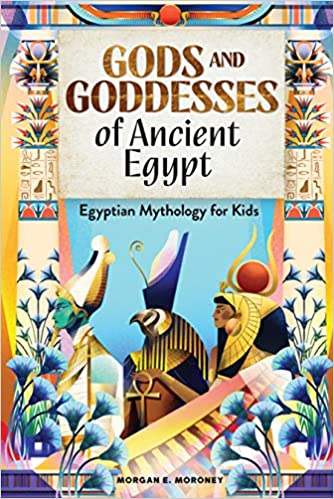
- You might also want to check out Gods and Goddesses of Ancient Egypt: Egyptian Mythology for Kids by Morgan E.
 Moroney. (If you have Amazon unlimited, you can read it for free!) This books is available on Amazon Unlimited. The illustrations in this book are beautiful. It has a really easy to follow timeline. The myths are well written and it includes stories about Geb & Nut, Osiris, Isis, Set, Nephthys and others.
 Moroney. (If you have Amazon unlimited, you can read it for free!) This books is available on Amazon Unlimited. The illustrations in this book are beautiful. It has a really easy to follow timeline. The myths are well written and it includes stories about Geb & Nut, Osiris, Isis, Set, Nephthys and others.
So now, on to her pyramid project!!
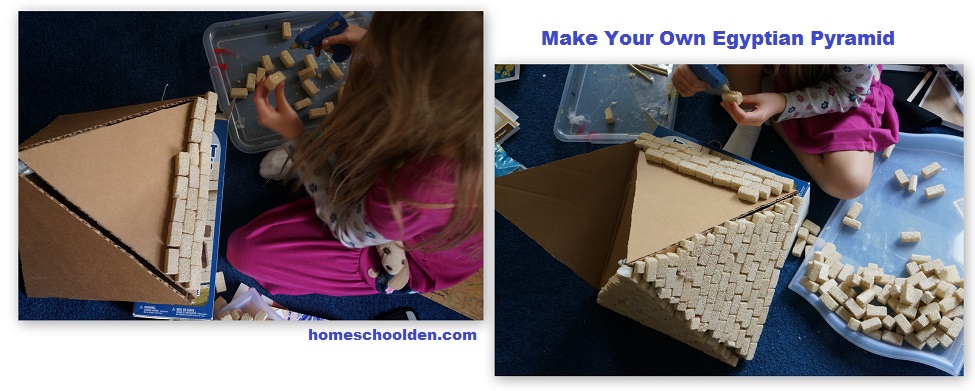
Trace 4 triangles on the edge of a box (our triangles were 13 inches on all sides. Cut out the triangle, but leave a 3 inch flap along the bottom. Cut out a 12 inch square (note: once we added in the 4 triangles, the base measured more like 13 3/4 inches with that extra bulk which is why the triangle pieces needed to be a bit larger.).
Glue the flaps and place the square piece in the middle. Place duct tape along the bottom for more stability.
Use duct tape on the inside of your pyramid to keep three of the flaps together. You can let the fourth flap open to put things inside.

Next, you’ll need Styrofoam Project Blocks and a Glue Gun or Styrofoam glue. (affiliate links) (ED used our glue gun.)
Glue the blocks to the cardboard. You can cut the Styrofoam to fit along the edges.
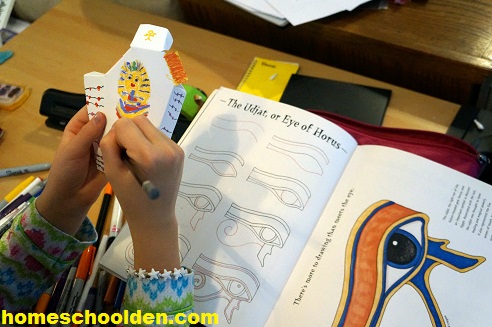
 Next, you can make things for the inside of your pyramid. I printed out a coffin template that we found here for the sarcophagus (pictured below). ED cut it out and put it together without help from me.
 My kids also really enjoyed drawing from Ralph Masiello’s Ancient Egypt Drawing Book (affiliate link).
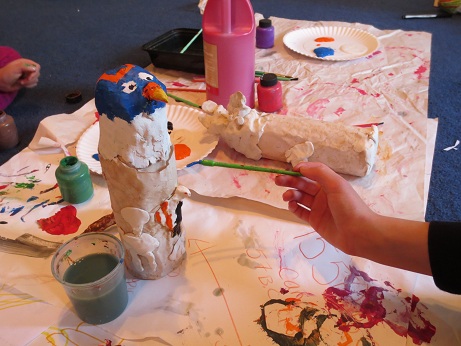
ED used Ralph Masiello’s Ancient Egypt Drawing Book to help her draw various things within her pyramid. She has the book open to the Eye of Horus in the photo below. We highly recommend this book!
 ED worked hard (and secretly) on her pyramid for a couple of days. (She wouldn’t let me look and I had to take the picture above with my eyes shut. Wink!) Finally, she was ready to reveal her final product! She actually took me by surprise when she showed me the burial chamber hidden deep within her pyramid!

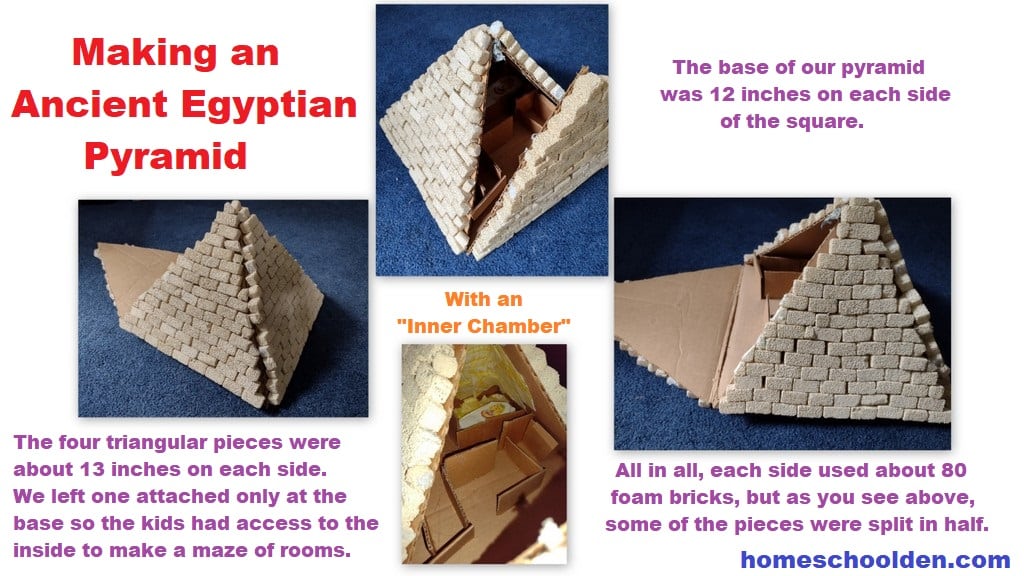
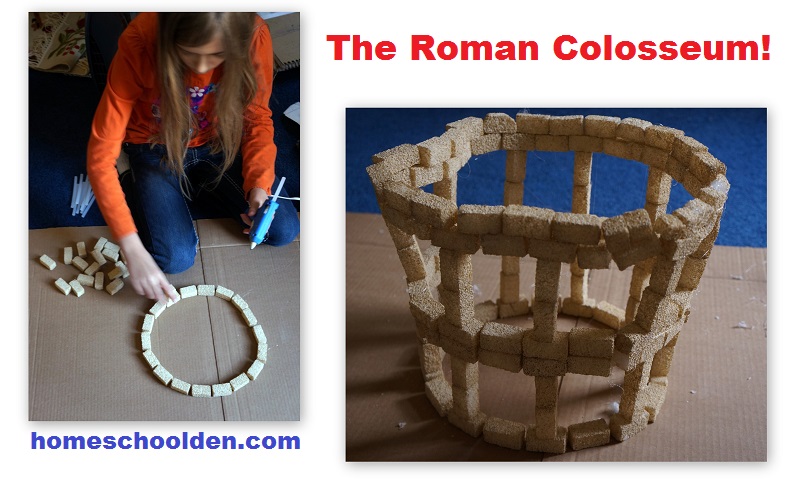
I’m going to include just one more picture so you can see the dimensions of our pyramid a little better. Again, we used FloraCraft Foam Project Bricks. There are 285 foam bricks per box. Each of the four sides of our pyramid used about 80 foam bricks so I suspect we used the entire box and a small portion of another box.
We went on to make a “Roman Colosseum” that year too so having left over bricks wasn’t an issue!
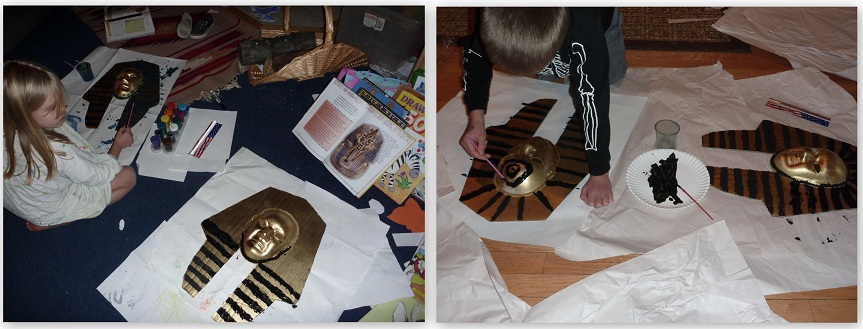
 So there you have it! She had a lot of fun doing this craft… and of course we had to model it with the Ancient Egyptian Death Mask we made several years ago. It’s been a favorite decoration in our homeschool room for years!
 For the Death Mask craft, we used cardboard masks that we got from Oriental Trading and used gold spray paint. It was pretty easy and the kids really loved doing that activity! You can see more details (and pictures) about the Ancient Egyptian Death Mask Craft at this post:
 We also made our own canopic jars! We read our Cleopatra VII: Daughter of the Nile (affiliate link) novel (which occurred 1,000 years AFTER the middle kingdom when King Tut lived and when many mummies were preserved!). A couple days earlier we finished watching the famous Cleopatra movie with Elizabeth Taylor. The kids loved, loved it!
Don’t miss our other Ancient Egypt posts:
Recreate the Flooding of the Nile River Valley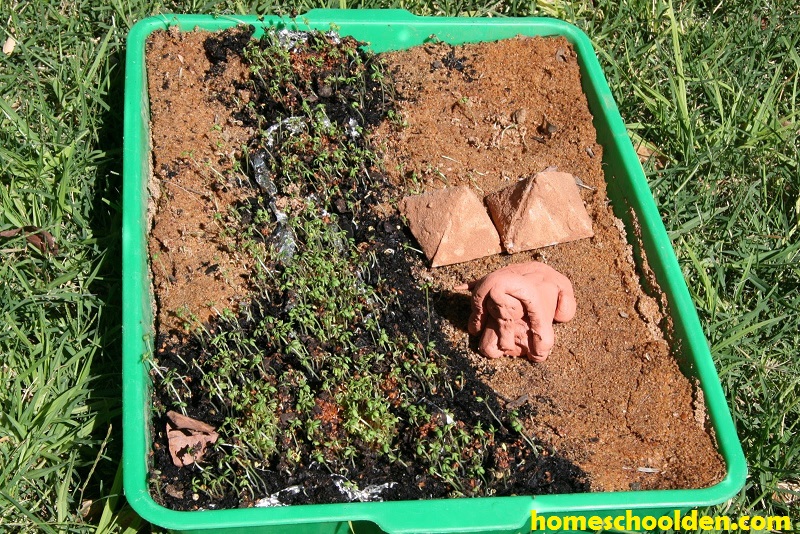
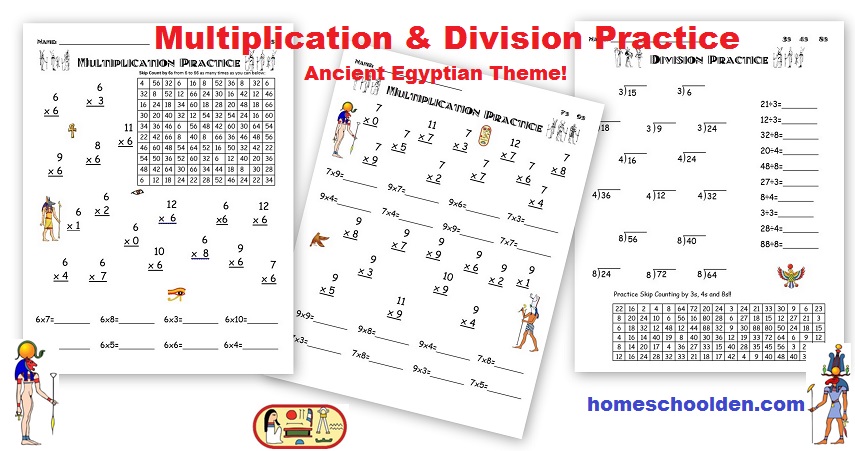
Egypt-Themed Multiplication Review Packet (25-pages)
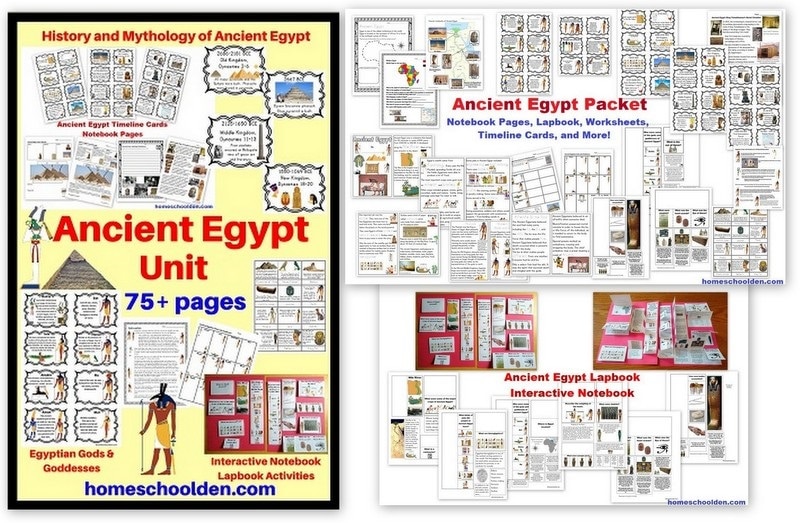
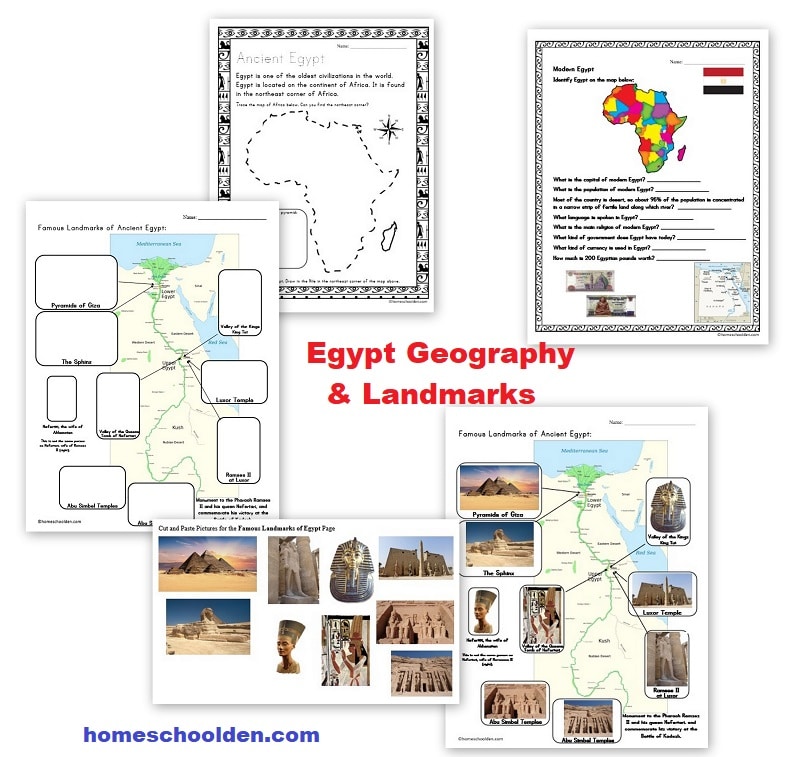
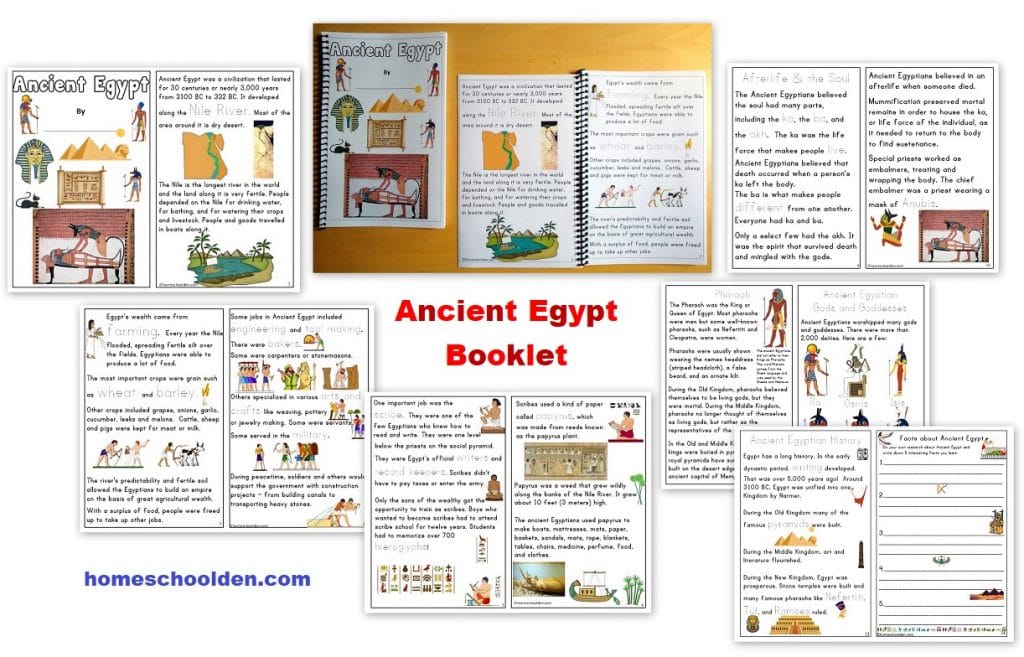
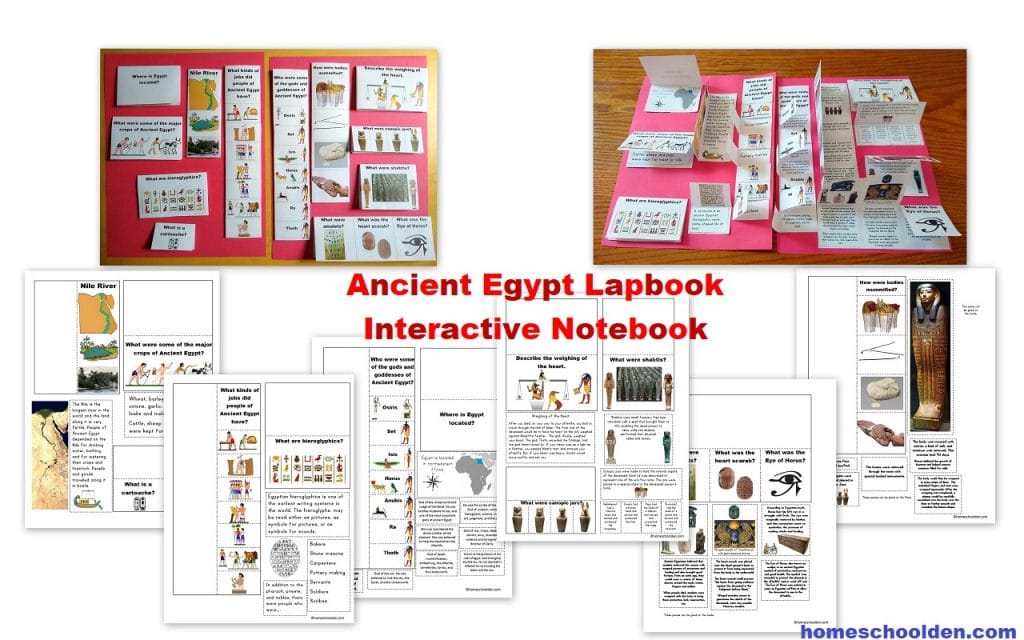
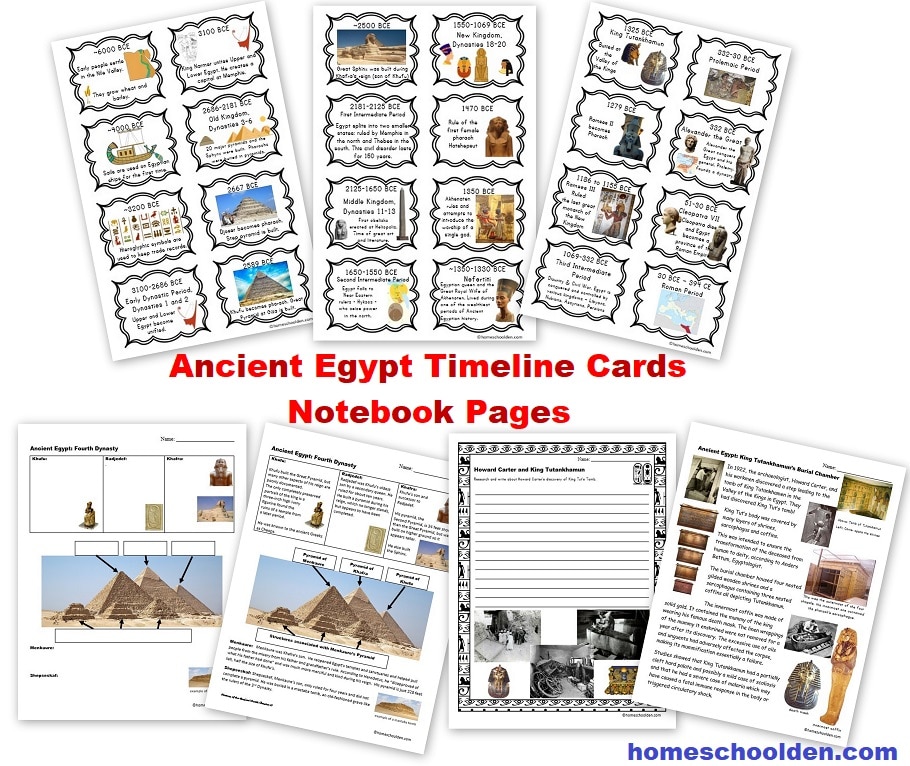
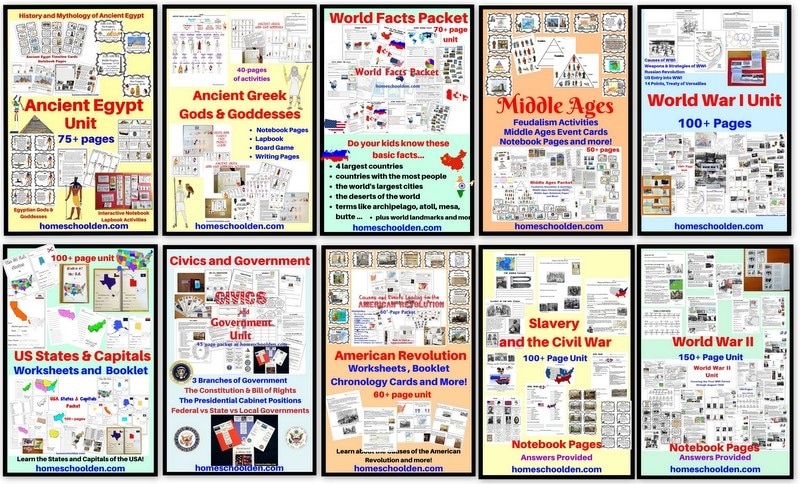
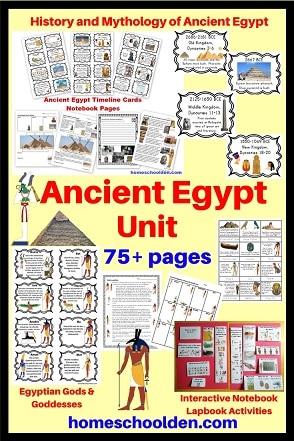
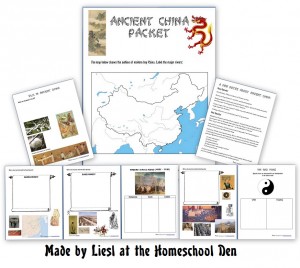
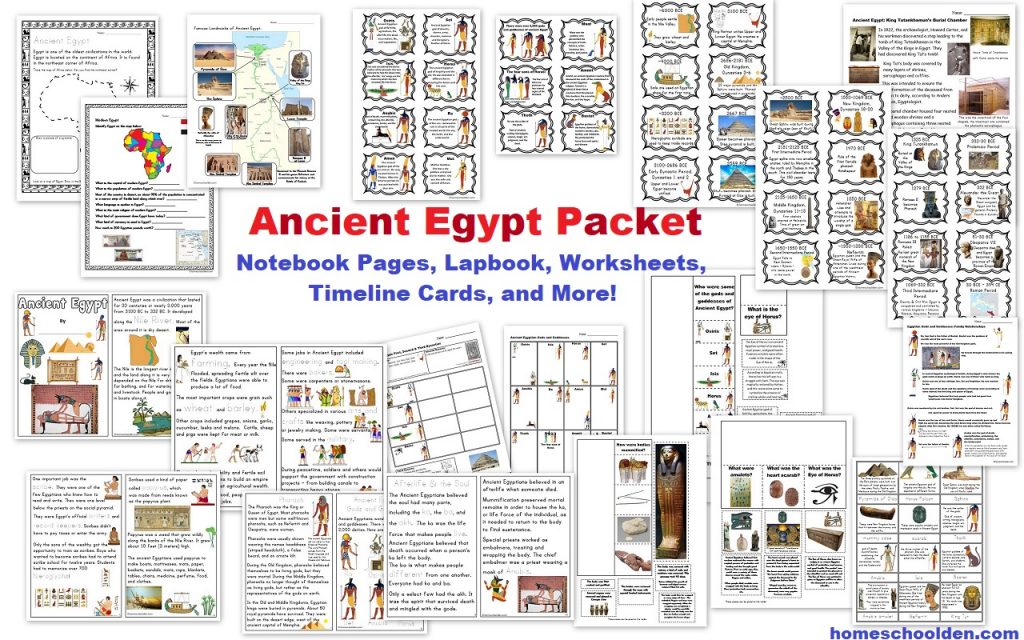
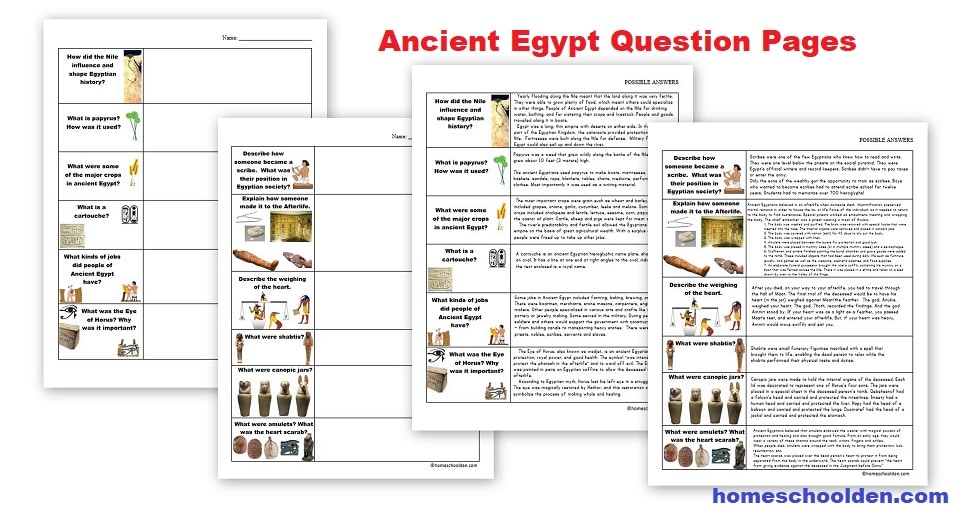
Be sure to check out our Ancient Egypt Packet!
Our Ancient Egypt Unit is about 75 pages. I’ll paste in a few pictures but you can find out more details here at this post: Ancient Egypt Packet
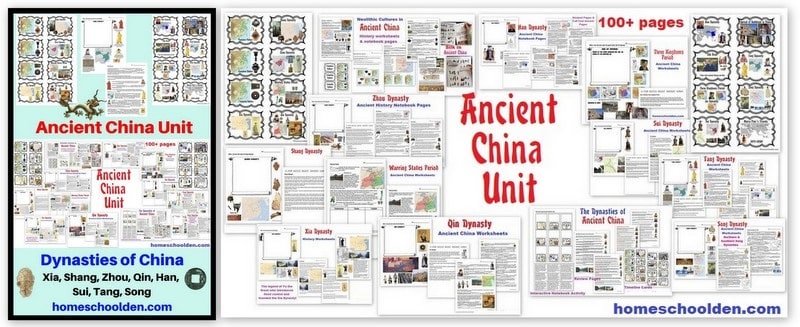
Our packets are all PDF digital downloads. Be sure to check your PayPal email address for your download link. If you have any questions, feel free to email me and again you can find out more about our Ancient Egypt Unit here or our Ancient China Unit here or check out all of our history packets at the History Page.
![]() $7.99 Ancient Egypt Packet Visit this post for more details. View Image 1, View Image 2, View image 3, View image 4, View image 5
$7.99 Ancient Egypt Packet Visit this post for more details. View Image 1, View Image 2, View image 3, View image 4, View image 5

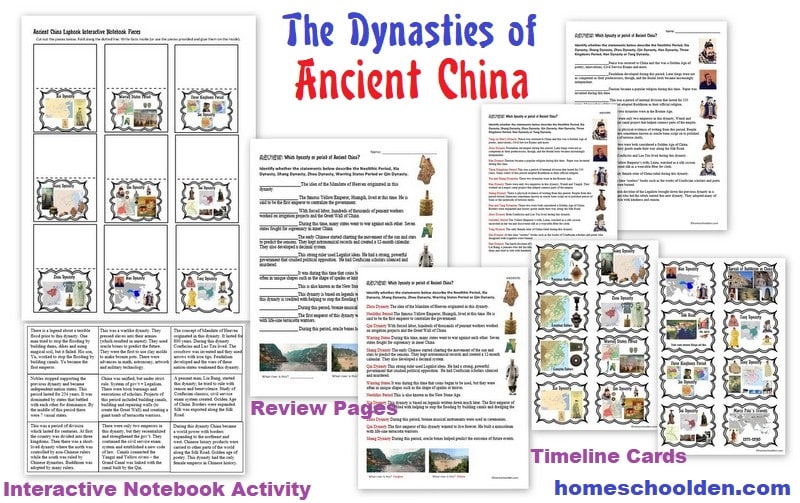
Again, you can find out more about our Ancient China Unit here
Other Ancient History Posts:
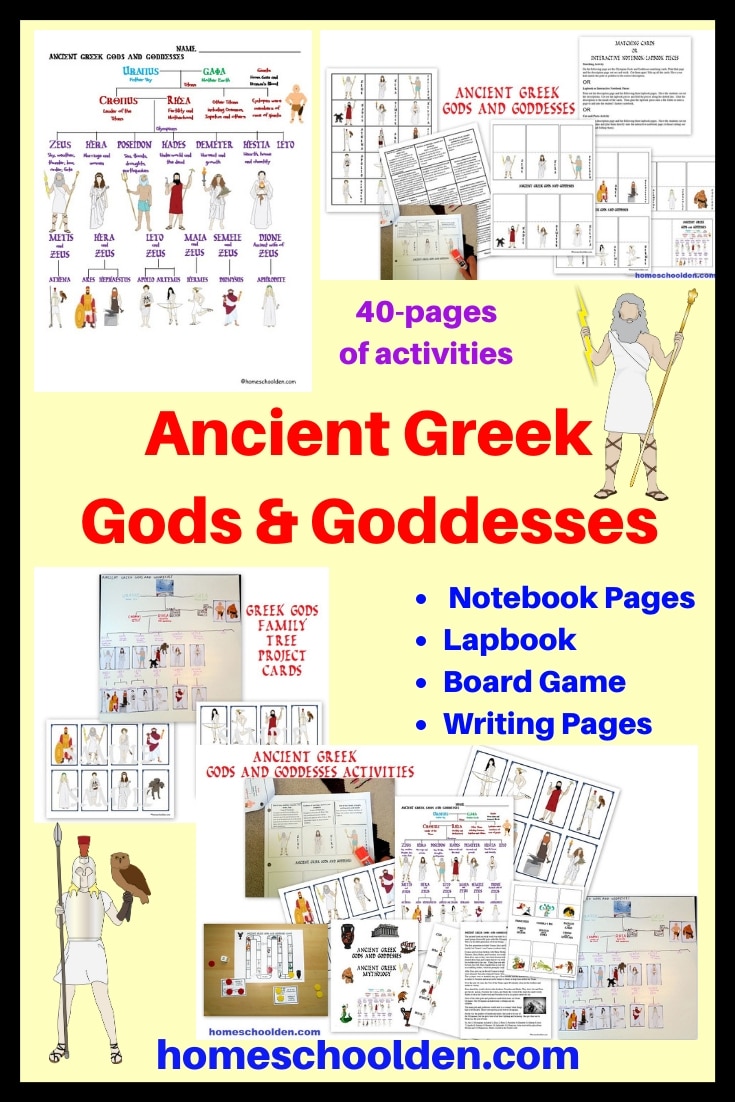
Ancient Greek Gods and Goddesses

- Ancient Greece (for K, Gr. 1 or 2)
- Ancient China Notebook Pages
- Ancient China – Books for Kids
- Hinduism Worksheets (India History)
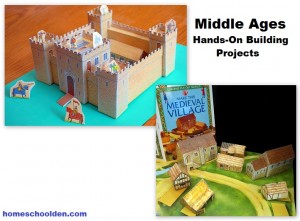
And you might want to visit the posts from our Middle Ages Unit:
- Vikings, Norse Myths and a Woodburning Craft
- Middle Ages: King Arthur, Charlemagne
- Middle Ages Unit: The Medieval Church and Monasteries Worksheets
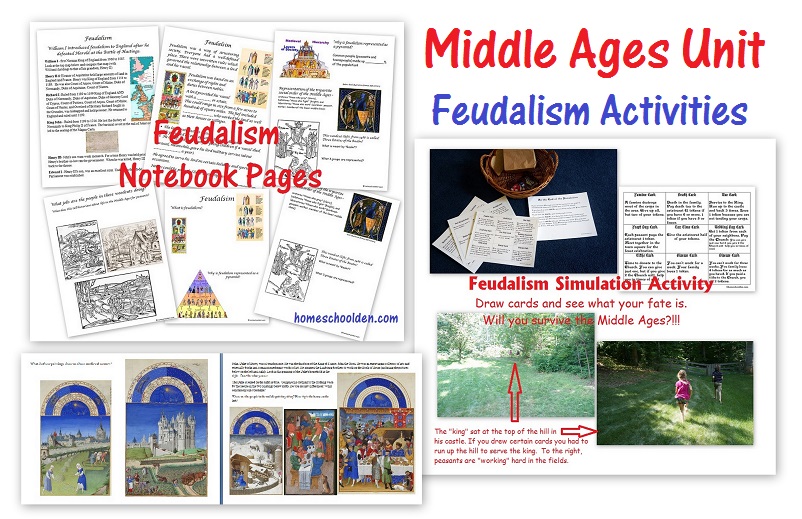
- Feudalism in the Middle Ages Notebook Pages and Simulation
- Middle Ages – Notebook Pages on England and France (800-1200)
- The Crusades
- Middle Ages in the 1300s: Black Plague Simulation, Hundred Years’ War, Crusades
- Genghis Khan and Kublai Khan Free Notebook Pages
- Marco Polo – Notebook Pages, Books and Resources
That’s about it for today! See you again soon here or at our Homeschool Den Facebook Page! Don’t forget to Subscribe to our Homeschool Den Newsletter! You might also want to check out our History Resource Page which has links to dozens of history posts. And don’t forget to check out Our Store as well. 🙂
Happy Homeschooling! ~Liesl
Disclosure: Please note that some of the links above are affiliate links, and at no additional cost to you, I will earn a commission if you decide to make a purchase.


Hi there! I realize this post is older and hope you see, but for the pyramid foam blocks-how many approx did you use for a 12inch base pyramid? They are low in stock currently, and nothing worse than running out of material mid-project! Thanks
Hi Amanda,
I added in another picture for you above so you can see the dimensions of our pyramid a little better. There were 9 foam blocks along the bottom row. Each row went down by either a half brick or a full brick. (So from the bottom we used 9 bricks, then 8, then 7 1/2, then 7… etc.) Each of the four sides of our pyramid used about 80 foam bricks so I suspect we used the entire box and a small portion of another box. Again, we used FloraCraft Foam Project Bricks. There are 285 foam bricks per box. I hope that helps! Have fun with this project!! ~Liesl