Category: Science Experiments
Over the weekend, LD pulled out his rocks and minerals kits that he got from Grandma and Grandpa for Christmas. I also had a rocks and minerals chart from Oriental Trading to add to the center (that he hadn’t seen before). We spent more than two hours learning about rocks today! I’ll share a bit more of what we did in the next post. After the experiments, the kids spent...
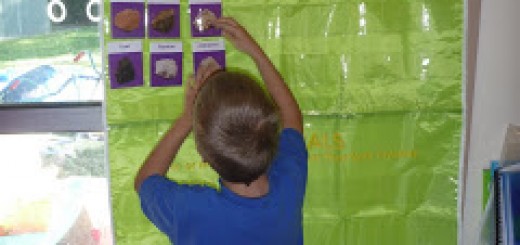
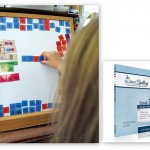
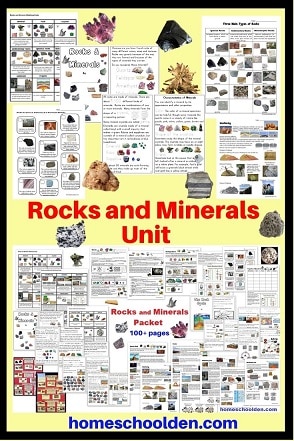
The first thing we did together was to sing the “Rock Song.” It was to the tune of Row, Row, Row Your Boat and talked about how sedimentary, igneous and metamorphic rocks are formed. Then he put the cards in the rocks and minerals chart. He really loved that and thought the chart/cards were “cool.” Don’t miss our FREE Rocks and Minerals Packet . We also have a Free Worksheet...
These are cards from the teacherdesk.info. The packet was more than 60 pages long and I thought it was a good quality product (it was $4 US dollars). We used them a lot in our talks today.
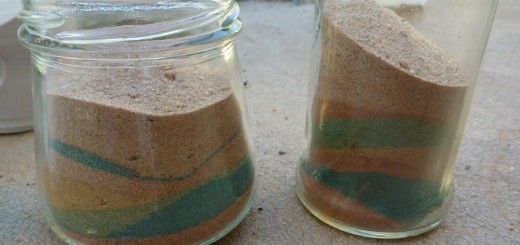
For sedimentary rocks, we talked about how the rocks were formed by layers building up one a-top the other. Then we made our own sedimentary layers. We had different colors of sand (I added food dye of various colors to the sand and mixed it together the night before). We also collected dried up leaves and small pebbles to add to the layers. You might also be interested in these...
In talking about igneous rocks, we looked at the cards from teacherdesk.info and talked about how some lava cools quickly (like obsideon) and some cools slowly (like granite). Melting wax from a candle was like lava cooling quickly and after the wax had cooled for a few moments we felt how smooth it was and compared that to the obsideon rocks we have from the rock kit. You might also...
We talked about what a geologist does and brought out this “land recreation.” LD and DD took turns taking “core samples” from the earth with the straw. They could tell that it was made of different layers. Metamorphic rocks are made when pressure and heat change the rocks. The oven was our ‘heat and pressure source’ for creating these “metamorphic rocks. Then we took rock samples (below) and looked not...
In this experiment you need:2 tablespoons water1 teaspoon sugar1 package of yeast Pour it into a small bottle and place a balloonover the top. Wait, watch and observe!
Here are the trays ready for our Monday morningscience center. All the various experiments lead towards the final M&M;color mixing experiment. There were about four differentmini-experiments leading up to that. I’ll talk about thatmore in the next posting.
Experiment 1:Add a teaspoonful of sugar to water. Stir. Observe. What happens when you add sugar to water? What happens when you add several more teaspoons? Experiment 2:Cut (or bite) an M&M; in half. What do you see? We talked about the three layers —the outer layer which was coloreda small thin layer of white (more of the sugar-outer coating)chocolate Experiment 3: Pour water into a white screw top lid....
Experiment 4: (above) Take drops of food dye/water and drop two colors ontoa piece of coffee filter. What happens when the followingcolors mix?red-yellowblue-redblue-green, etc. Experiment 5: (below) Pour water into a white screw top lid. Add four M&Ms;,one each of red, yellow, green and blue. Make a prediction. What do you think will happen whenthe colors meet? Observe. **When the colors meet, they will form a solid line (atleast at...
I never got a chance to post about our science center experiment last week. We planted seeds in various ways. 1) We put seeds on damp paper towels and hung them in the window. 2) We put sprout seeds in a jar on the dining room table. 3) We planted seeds in soil in jars (covered with glad-wrap to trap the moisture). 4) And, we planted some seeds in the...
We had the quickest results with the seedlings in the window. Overall, we had a lot to talk about because the seeds on the kitchen table started to sprout — and then died when they weren’t kept moist (we went camping this weekend). And the seeds at the bottom of the bags in the window didn’t sprout because they were submerged in water. That led to some good talks about...
It has been a very busy week and I’m just now gettingaround to talking about this week’s science experiment. We talked about surface tension this week and how askin-like layer (called a meniscus) forms on the top ofthe water. We saw how this allows water to rise up overthe top of the little cup. All three of the kids repeated these experiments anumber of times. They especially liked using the...
Our third little experiment was to try tofloat a needle. First, we dropped a needle from up high, thenlower and lower to see what happened. Nomatter how close we were to the top of thewater, the needle sank. Then I said we were going to try to make aneedle float. The excitement and anticipation built… Gently the kids placed their needles on asmall piece of tissue paper. We watchedas the...