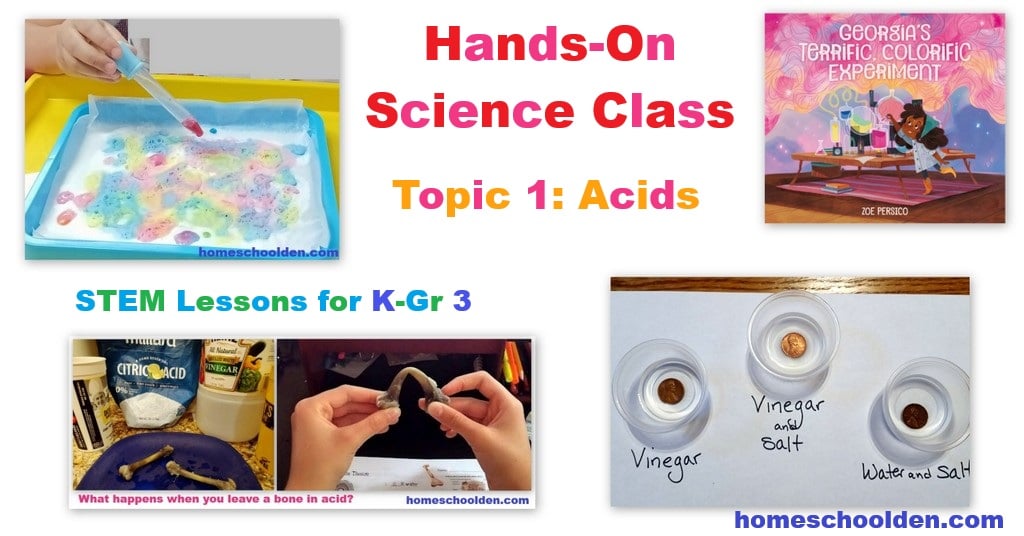
Hands-On Science Lesson 1 (for K-3)
I have just started my second year teaching a Hands-On Science class for lower elementary students K-3 (ages 5-9 or so). This is an in-person class that I teach once a week and I teach three different sessions (same material/different group of kids). I thought I would share some of the activities I am doing this year with my students in science class – so in this series I will label each post “Lesson 1, Lesson 2 and so forth” if you want to follow along!
I am also teaching other classes for various ages including art, German and a middle school modern history class.
Quick note about the age range: Because I include a couple of hands-on activities each session, I have found that the age range has worked out just fine! And of course as a homeschool family with 3 kiddos, we always did science together. My kids were each 2 years apart. It worked well for us through the years too! Let me add that my class is generally capped at 12-14, but if I have more students then I have two or three adult assistants to help out!
Let’s jump in! Many of my students have returned from last year so they were familiar with our opening routine. I always start our class with a quick stretch as we go over the bones of our body. So we wiggle our phalanges in the air, then reach down and touch our phalanges/toes. Then we touch our patella, pat our femur, touch our clavicle, and so forth. I hope that after a year (or two) of classes with me, the bones of the body will be as familiar as the words arm, knee, leg, etc.!!
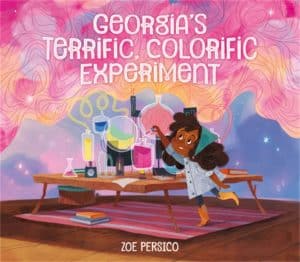 We usually have two topics running concurrently (with different hands-on activities for each). Our first topic and to get the kids right into some fizzy fun, is on acids and bases. We read Georgia’s Terrific, Colorific Experiment. (affiliate link) It is about a girl who is part of a very artsy family. She wants to be a scientist, though. But she eventually finds inspiration from her family and creates her own colorful experiments.
Then it was time to do our own colorful experiments! Prior to class, I had set up 12-14 trays for each of the kids. I had a piece of white paper followed by a bit of wax paper and then sprinkled a generous amount of baking powder on top. To the side, I set out three small portion cups (affiliate link) filled with vinegar and a dash of blue, red or yellow liquid watercolor paint. (affiliate link) Here is our baking soda tray set up:
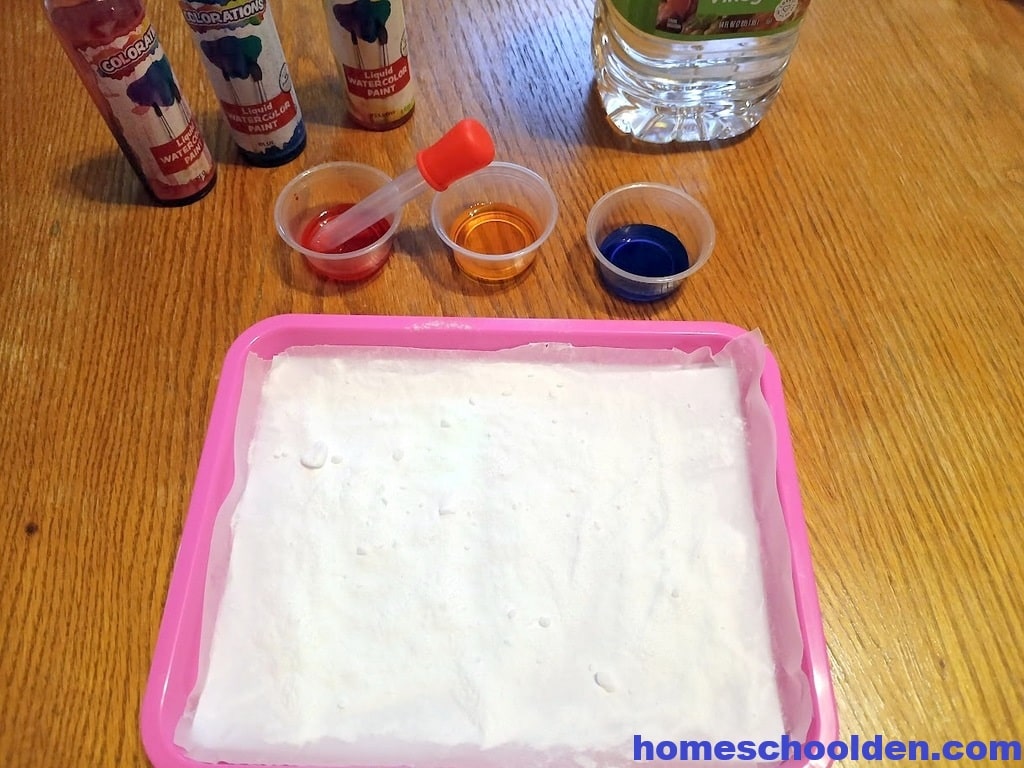
I always demonstrate how to do our experiment or activity at our circle before they go to the table to do this on their own. That way I can be sure everyone (even the youngest of our class) knows what to do and how to use the materials.
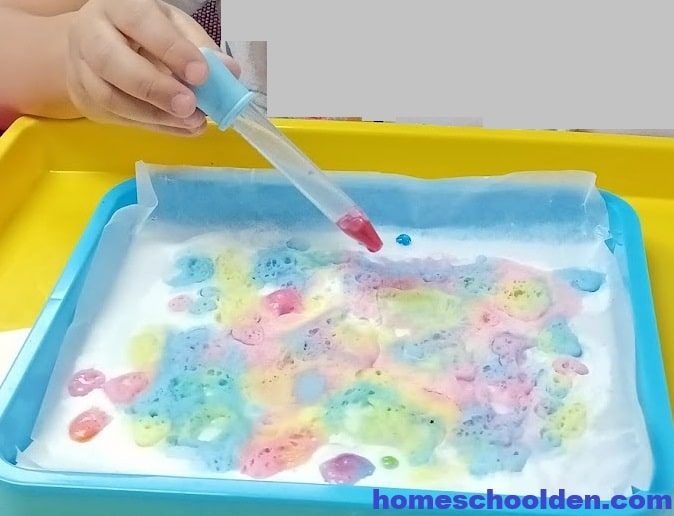
I made sure everyone knew how to use an eyedropper. Before I had them sit at the tables, I had them practice slightly squeezing the bulb then putting it into an imaginary cup. They then “released” their finger drawing up the liquid.
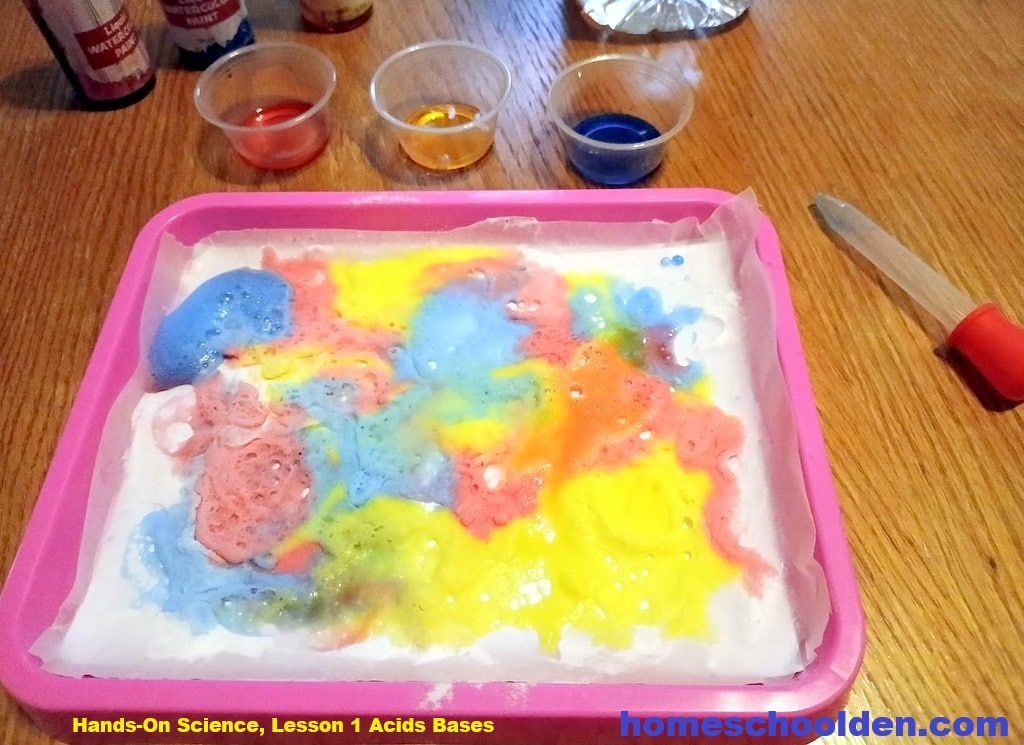
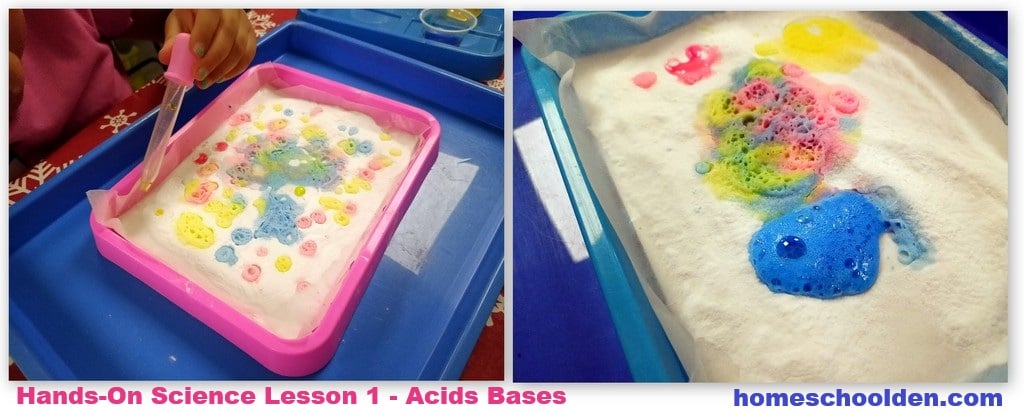
After the demonstration, I let them go to the tables to do this colorful science activity on their own. It was a great opportunity to talk about color-mixing, acids/bases, and being creative too!
It’s so fun to be leading a STEM (science technology engineering math) class where the kids are so engaged! This activity was definitely a hit!
Things we used for this part of class (affiliate links):
- Children’s book: Georgia’s Terrific, Colorific Experiment
- Plastic Portion Cups (we used around 21 cups because I had two students share)
- Eye droppers
- Plastic Activity Tray for each student (I got these small trays from the Dollar Tree)
- Liquid Watercolor Paint (I purchased the brand Colorations last year and have been so happy with it. I used it a lot in my art class as well.)
More on Acids and Bases
In our next class, we talked about the pH scale which goes from 1 to 14. If something is very acidic it has a low number. If it is fairly neutral it has a pH of 7. And of course, if something is alkali it has larger numbers and is a base. I had the pH scale on one of my slides. 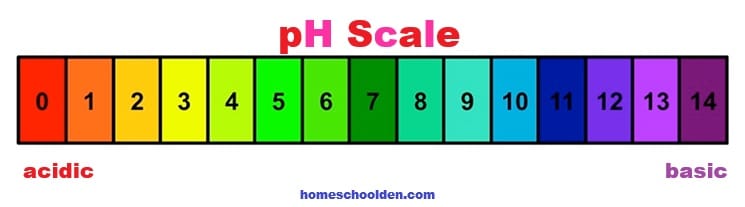
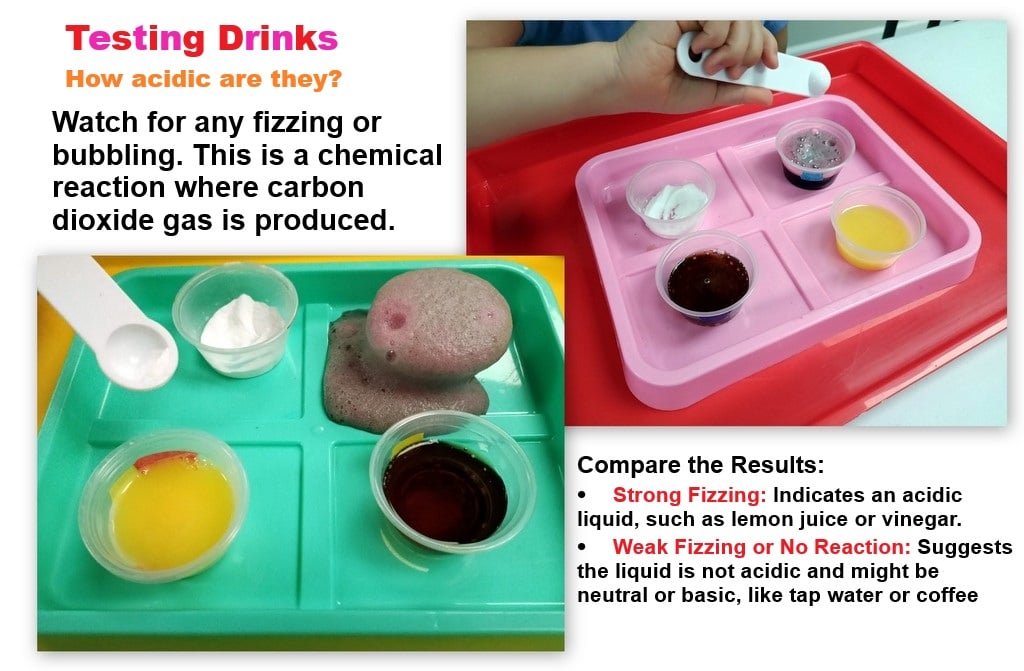
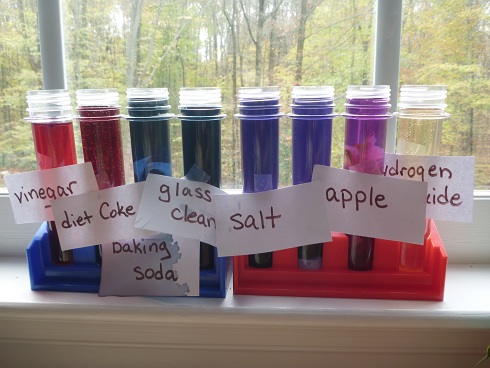
I set out several different liquids in portion cups for the students and a container of baking soda with small 1/4 teaspoon measuring spoons. They had the opportunity to watch for any fizzing or bubbling with their three liquids; their neighbor had a different set of liquids. The fizzing or bubbling is a chemical reaction where carbon dioxide gas is produced.
Compare the Results:
- Strong Fizzing
- Weak Fizzing
- No Reaction:
After they were done with their experiment, we met back as a group to compare our results and tried to rank the liquids that we tested.
Then I shared a slide with a breakdown of the approximate pH levels of juices and drinks we had on hand:
- Lemon Juice: 2.0 to 2.6
- Cranberry juice: 2.3 to 2.5
- Coke: 2.5 to 2.8
- Orange juice: 3.3 to 4.2
- Apple juice: 3.3 to 4.0
- Grape juice: 3.3 to 4.0
- Coffee: 5
- Almond milk: 6.5 to 7.6
- Water: 7
Experiments on the Power of Acid:
Acid and Pennies:
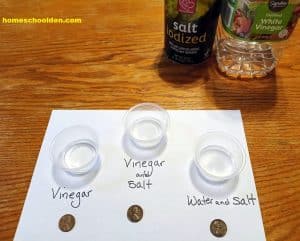 The kids were given old (pre-1982) tarnished, dark pennies and a small container of vinegar. Another container had vinegar and a small amount of salt. I have a huge set of plastic portion cups (affiliate link) in my science supply cabinet and use these all the time – almost weekly!
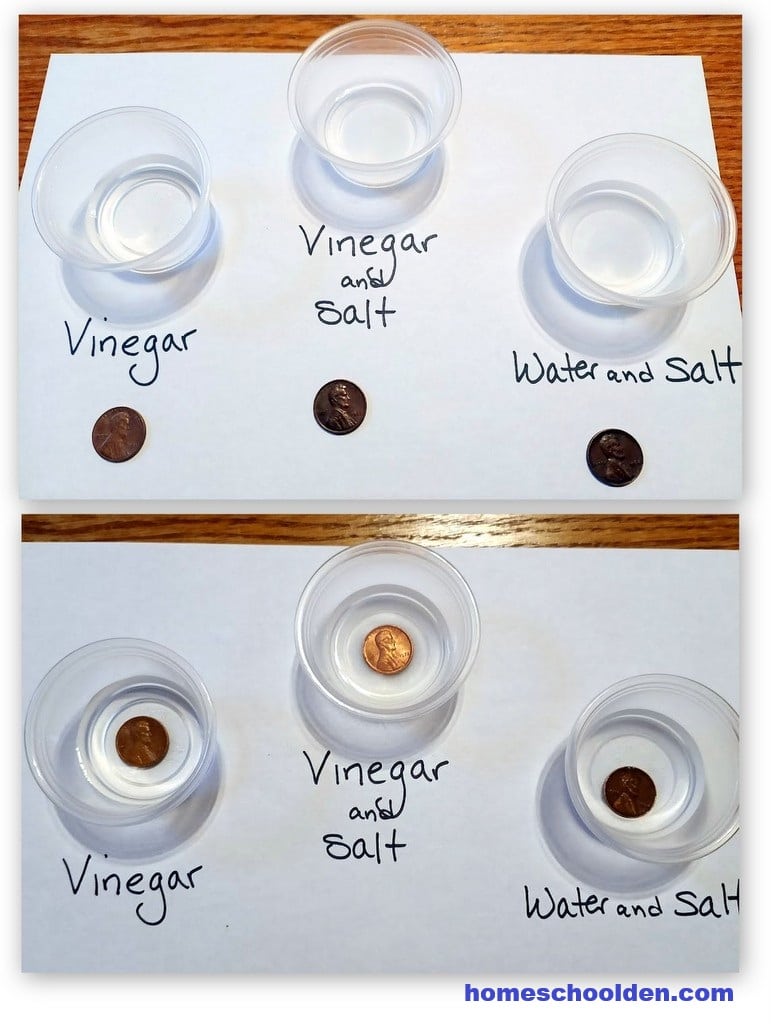
They observed both containers to see which penny became clean more quickly.
The old pennies are mostly copper. Over time, the copper surface gets covered by copper oxide and other corrosion products (the dark or greenish “tarnish”). Vinegar reacts with the copper oxides and dissolves them into soluble copper compounds, so the shiny copper metal underneath shows again. When you add salt, the chloride ions (from the salt), keeps the copper ions in solution, preventing them from reattaching to the penny. Together, they make a stronger cleaning solution than vinegar alone.
We were surprised how quickly the penny was cleaned in the vinegar-salt solution while the vinegar and water-salt solution remained tarnished and brown!
Acid and Bones:
Rubbery Bones Demonstration! Another activity we did was we placed chicken bones into two different types of acid: citric acid and vinegar. We then left them for a week and came back the next week to see what had happened.
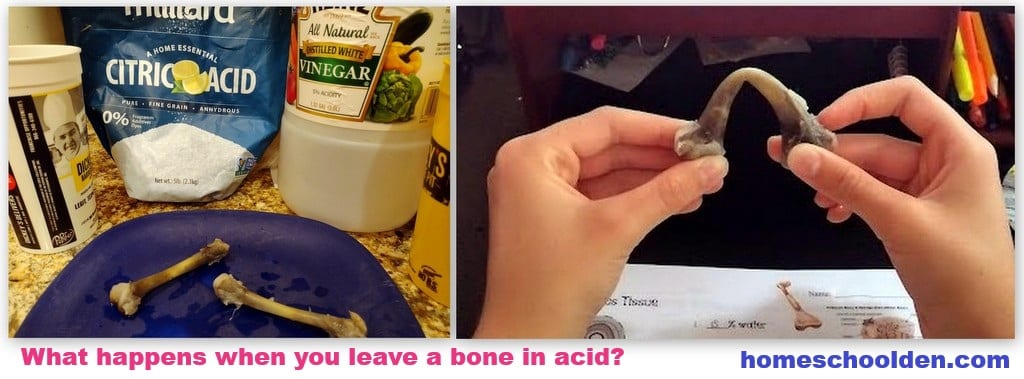
Vinegar makes bones rubbery by using its acetic acid to dissolve the calcium-based minerals, known as apatite, that provide bones with their hardness and rigidity.
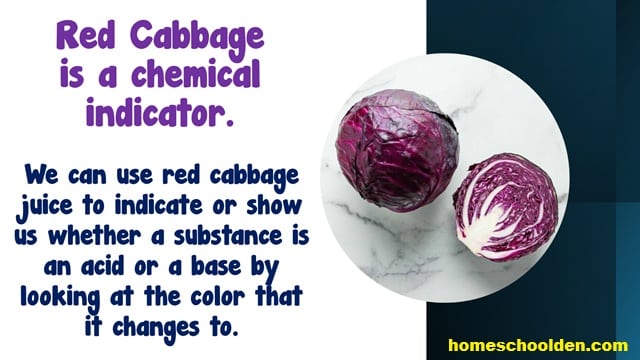
Red Cabbage Indicator:
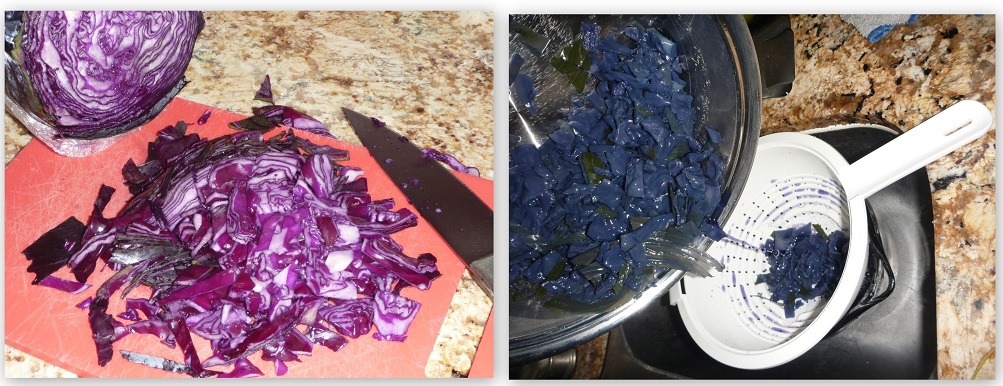
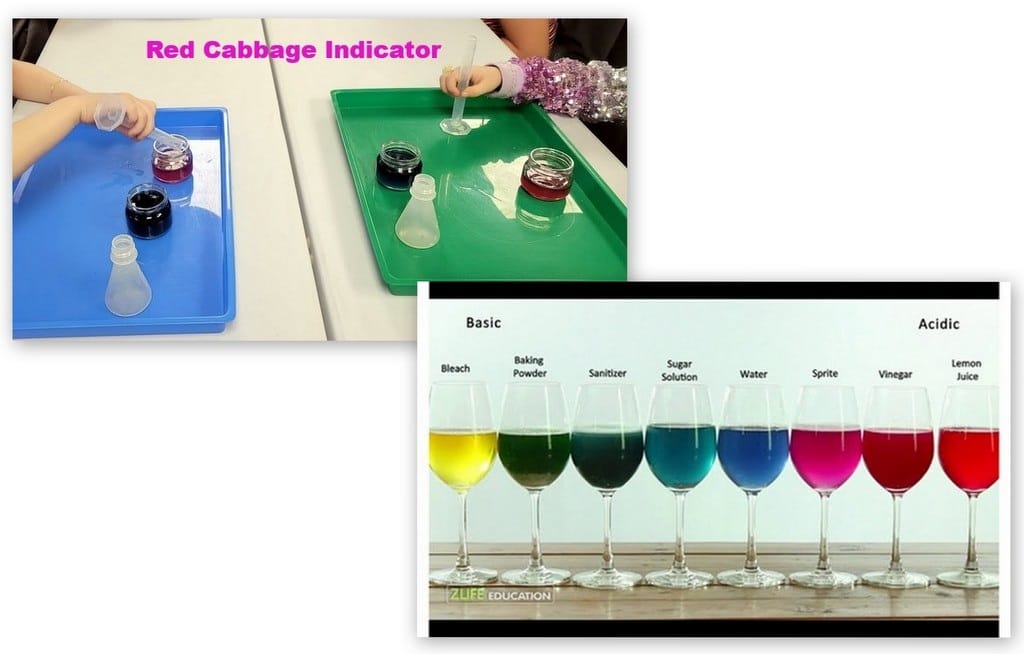
Another activity we did last year was the red cabbage indicator. I bought a bag of shredded cabbage and boiled it in a large saucepan of water. I let it cool and put it in a container to bring to class. Each student got a small glass jar with purple cabbage juice. They had a small beaker of lemon juice and a small flask of baking soda mixed with water that they added to the indicator/cabbage juice.
Here’s a photo of preparing red cabbage if you get a head (these days, I usually just buy the bag)!
We compared our results to a photo from ZLife Education which I shared on a PP slide.
Here is another photo from when my kids did this experiment years ago. At home we were able to test a wide variety of liquids!
That’s about it for this portion of Hands-On Science class!! Just so you know, I did these acid-base experiments one at a time over several weeks. I have a second topic going on concurrently (but I’ll share all those activities in the next Hands-On Science post!
See you again soon here or over at our Homeschool Den Facebook Page! Don’t forget to Subscribe to our Homeschool Den Newsletter. You might also want to check out some of our resources pages above (such as our Science, Language Arts, or History Units Resource Pages) which have links to dozens of posts. Don’t forget to check out Our Store as well. ![]()
 Happy Homeschooling, everyone!! ~Liesl
Disclosure: Please note that some of the links in this post are affiliate links, and at no additional cost to you, I will earn a commission if you decide to make a purchase.